Quick & easy pierogi? There is no such thing. But if ever a recipe was worth the time, it’s homemade pierogi. I only make potato & cheese pierogi because that’s what I grew up on. My dad taught me how to make them and I’m so glad I shared the recipe because I wasn’t sure if anyone would want to put in the effort. It turns out a lot of people do. There are hundreds of comments and over a million people have watched the video.
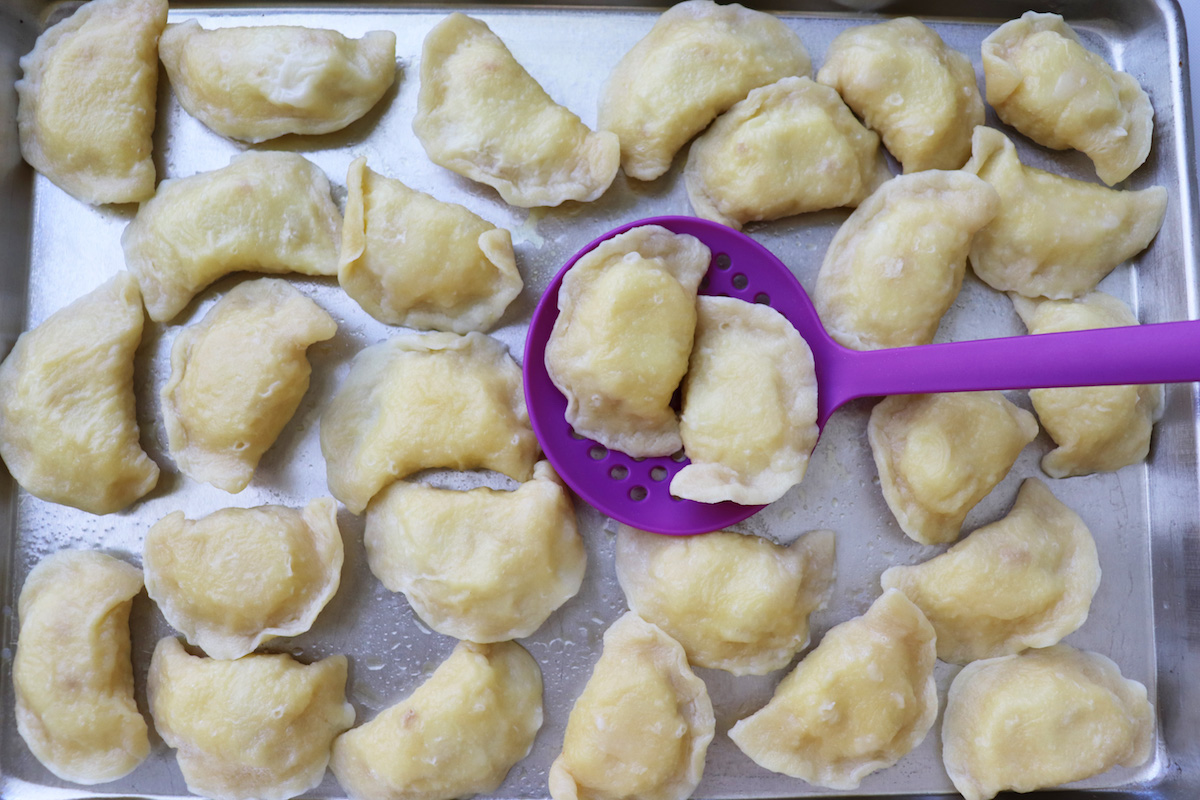
There are two things to make: the dough and the filling. The mashed potato filling is easy to make but the dough takes more time and it’s important that the filling stays inside the dough when they are boiled. Before boiling, the pierogi must be kept apart on a floured towel because if they touch each other they will likely stick and create an opening in the dough. That would result in them breaking apart when they’re boiled. I line a baking sheet with a dish towel and sprinkle it with flour and place them on the towel, not touching.
 I boil mine in a medium saucepan so I only boil 4 or 5 at a time, making sure at first that they don’t touch each other in the water. Pierogi take about 3-4 minutes to cook and when they’re done I remove them to an oiled baking sheet and put the next few in the boiling water. (By the way, “pierogi” is plural – one is called a “pierog” but people often use “pierogies” as the plural).
 Once they’re cooked I still keep them mostly separated. There are two ways to enjoy these Polish treasures. One is to eat them right after boiling when they are soft and tender, served with sour cream and bacon bits. I rarely eat bacon but that rule goes out the window when I make homemade pierogi.
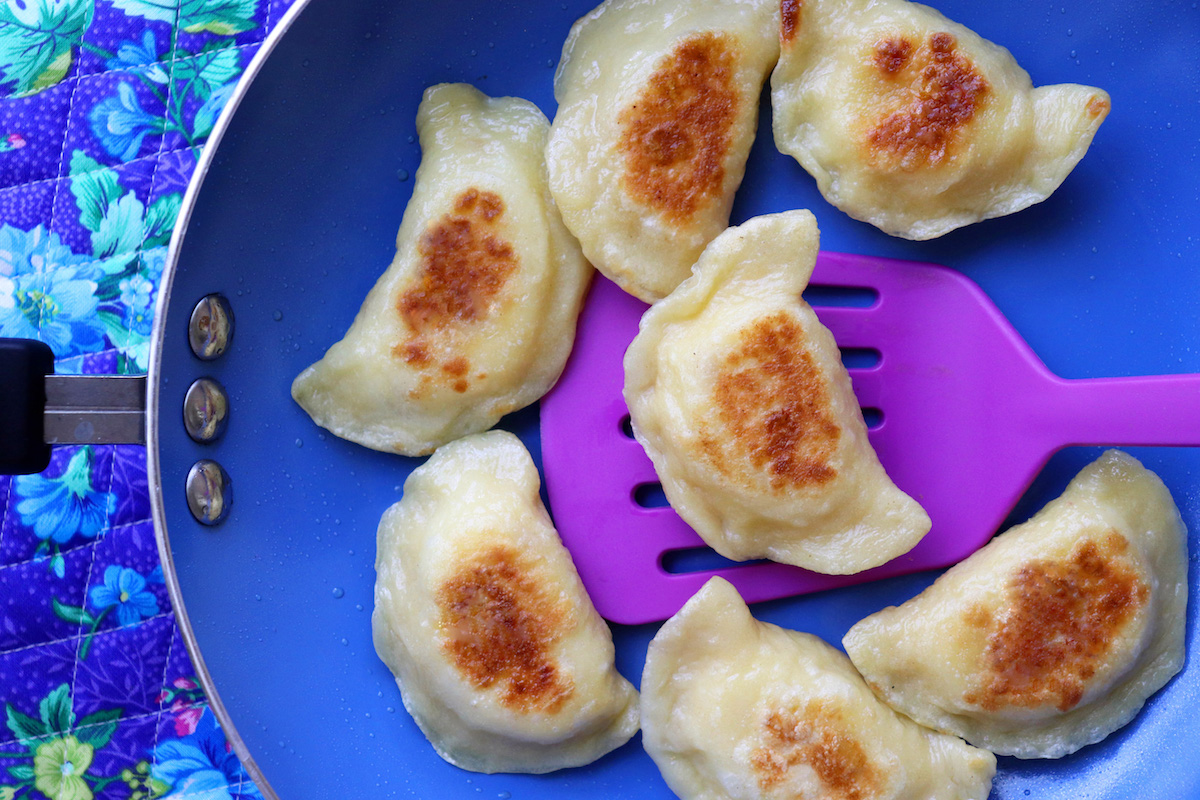
The other way is to pan fry them in a little oil or butter until they’re lightly browned and serve them with (big surprise…) sour cream and bacon bits. They are also often served with fried onions. Well I have to go now. We have leftovers. Click here for the recipe. – Jenny Jones

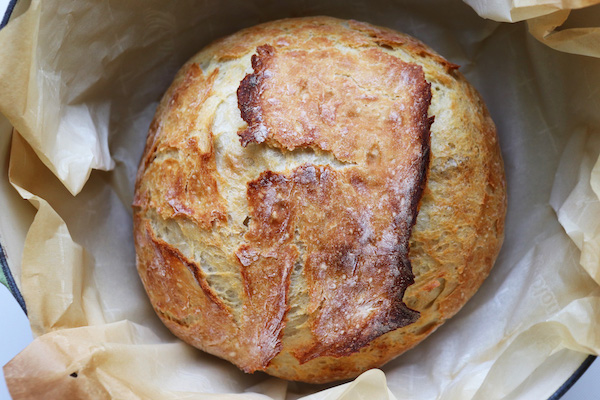
 This morning I was craving my caramelized apple pancake but I am by myself and the recipe makes two servings. I decided to experiment, cutting all the ingredients in half, using one large granny smith apple and I used my 9-inch cast iron pan. It turned out great! I was afraid it would spread out too much and the edges wouldn’t puff up but look – it’s beautiful!
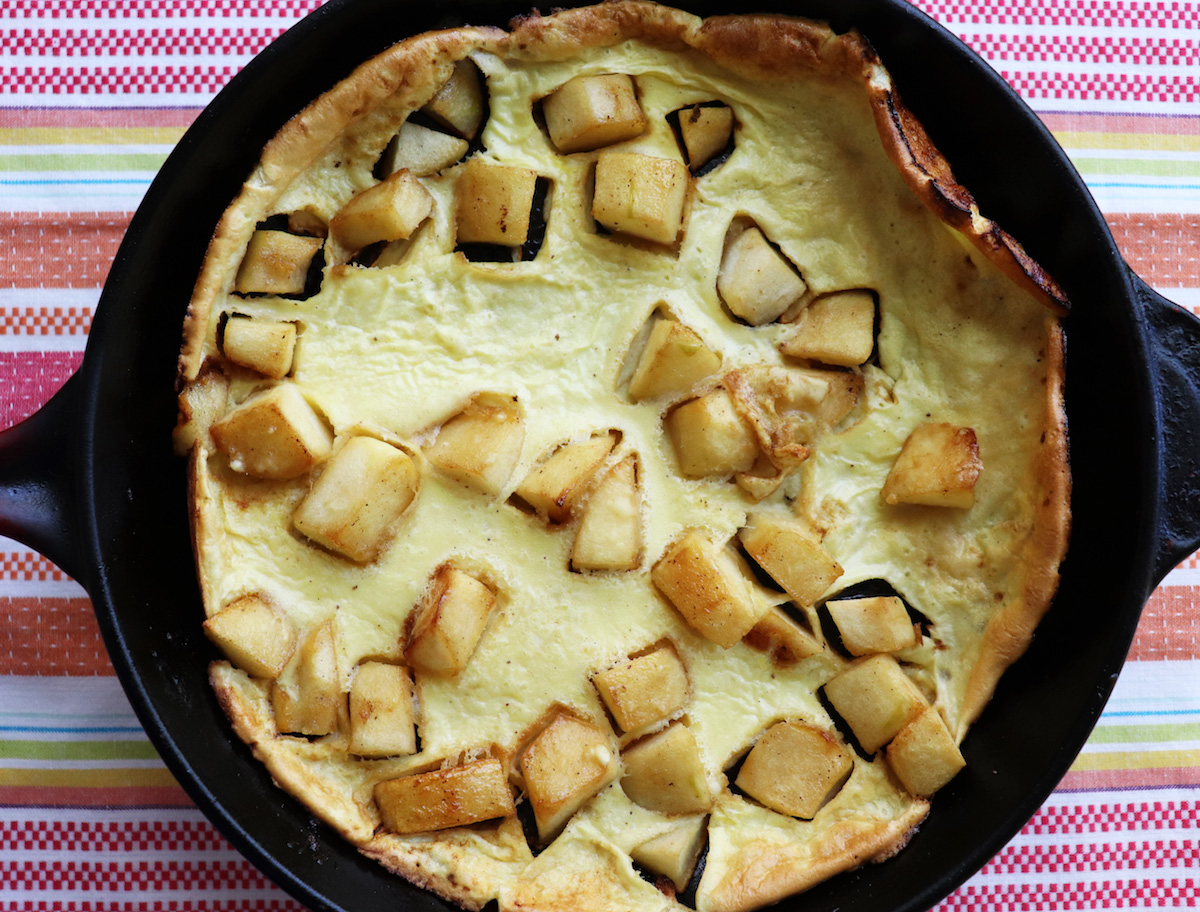 It wasn’t quite as gooey as the big one but I needed to show that you can make this pancake for one. You know that movie, “Gone in 60 Seconds?” So was my pancake. Click here for the recipe. – Jenny Jones