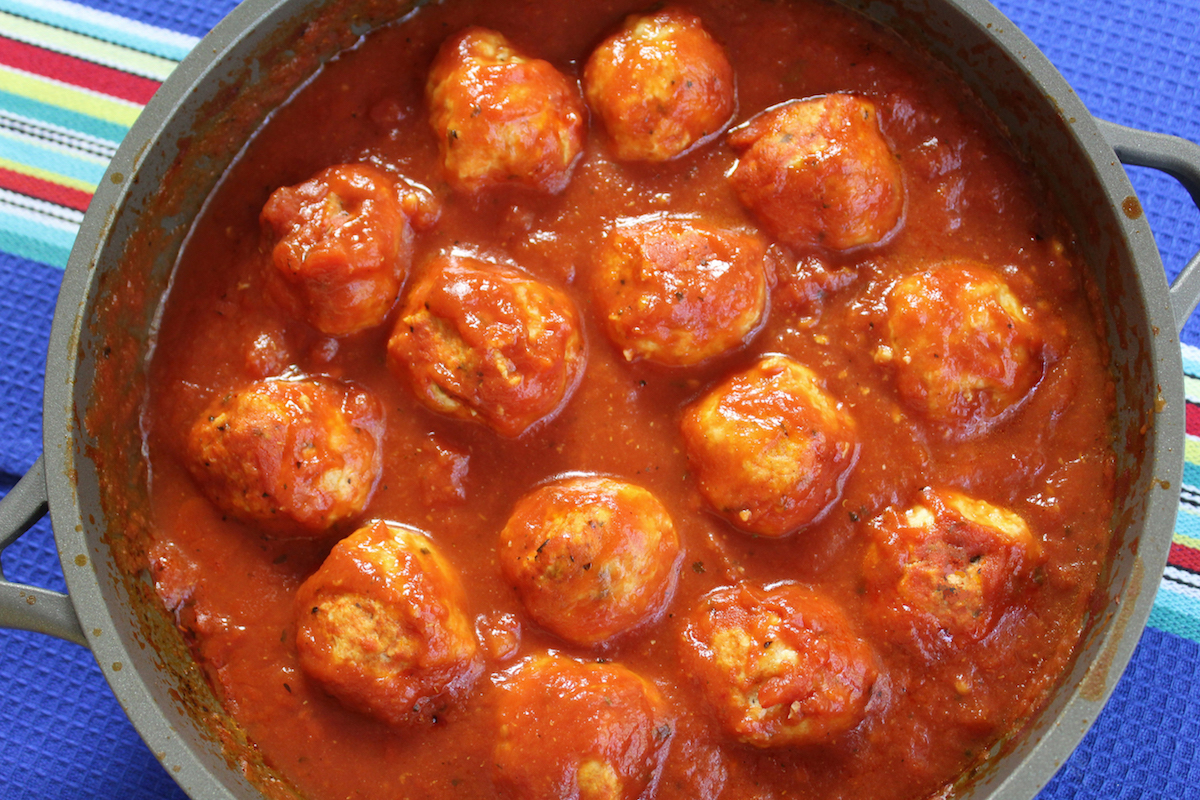
Not all chicken meatballs are soft but these are. The secret is to cook them right in the sauce. Ground chicken breast is very lean and healthy but since it contains so little fat, it’s easy for chicken meatballs to become dry. But when they’re cooked in the sauce, they are beautifully soft and even more flavorful from absorbing the sauce.
Using fresh bread crumbs also helps with their beautifully soft texture. Fresh crumbs are made by using fresh bread, in this case whole wheat bread, and running it through a food processor. Since I always bake my own simple whole wheat bread, that’s what I use for the crumbs so it’s important to use a soft whole wheat bread for these fresh crumbs. Click here for my recipe and video on making bread crumbs.
You can put this meal, with sauce, together in about 1/2 an hour if you use myQuick & Easy Spaghetti Sauce. In fact, you can follow myQuick & Easy Spaghetti & Meatballs recipe and just swap the beef meatballs with my chicken recipe. Both of these sauce recipes are exactly the same. If you don’t want to use sauce and would prefer to pan-fry or oven-bake these chicken meatballs, you can do that. They won’t be quite as soft, and not as pretty, but they still taste really good.
I experimented with both pan-frying and oven-baking and here’s how you would do that. To pan-fry, heat a little olive oil in a large pan and cook the meatballs for about 10 minutes, gently turning to brown all sides. They won’t be meatballs any more… more more like meat triangles. To oven-bake, place the meatballs on a greased baking sheet and bake in a preheated 400° F oven for about 20 minutes. The meatballs are done when the inside reaches 165° F. As I said, they won’t be as pretty as the sauce version and here is the proof:
Pan-fried Oven-baked
I told you they weren’t pretty!! Of the two options, the pan-fried meatballs tasted better, probably because they were browned. So now you have options, but I highly recommend cooking these chicken breast meatballs in sauce for the best result. – Jenny Jones
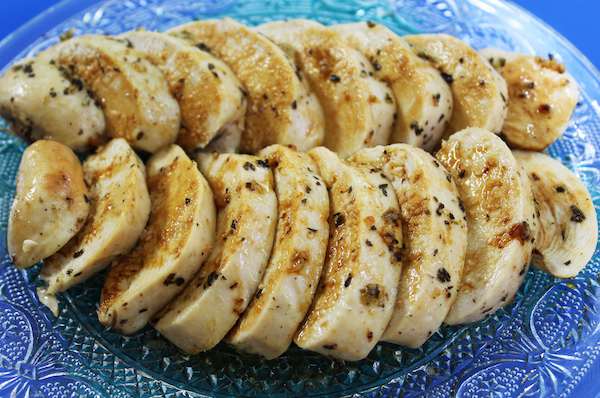
You only need four ingredients to make this easy chicken recipe. Well, four plus the chicken. For anyone just learning to cook or simply short on time, this oven-baked chicken is quick, easy and healthy. I make a basting sauce of fresh lemon juice and garlic with olive oil and herbs. The chicken bakes in the oven, you baste it a couple of times, and it’s ready in 30 minutes. And get this: I line my baking pan with foil followed by parchment paper so there’s no cleanup!
For my herbs, I use a prepared formula of Italian dried herbs that includes basil, rosemary, thyme & oregano but you can use your own favorite mix. Or just use one herb that you like. Once the chicken is cooked, you let it rest for 5-10 minutes, then slice it and pour all the juices left in the pan over the chicken, making sure you get all the bits of garlic too. The combination of garlic, herbs, and lemon goes perfectly with chicken. Click herefor the recipe. – Jenny Jones
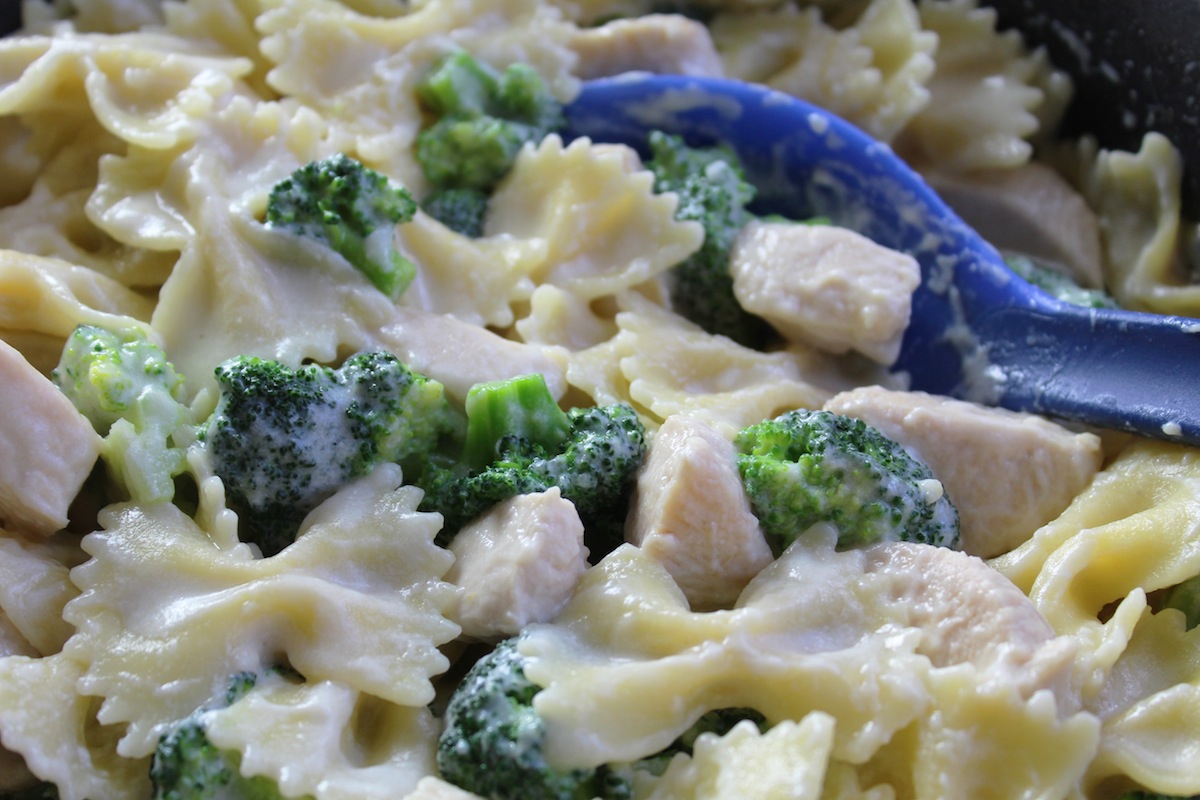
Here’s a new addition to my 30 Minutes or Less dinner category. It’s lean white meat chicken, bow tie pasta and asparagus in a creamy, low fat Alfredo sauce. It’s super easy, quick, and yummy. The whole meal takes just 25 minutes to make and it also works with broccoli.
The only difference if you use broccoli is you add a little pasta water to the broccoli when you saute it. This recipe was in my cookbook but that version used butter. My new way does not use butter and it’s much easier to make. In fact, almost any recipe I made ten years ago is not the same today. I’m always finding ways to make things simpler, easier, and faster.
The creamy sauce is my version of alfredo sauce. Did you know they call fettucini alfredo a “heart attack on a plate?” That’s because alfredo sauce is traditionally made with all cream and butter. I will never do that. Mine uses no cream or butter. I use 1% milk and I get a creamy, satisfying comfort meal that I can feel good about eating. Click here for the recipe. – Jenny Jones
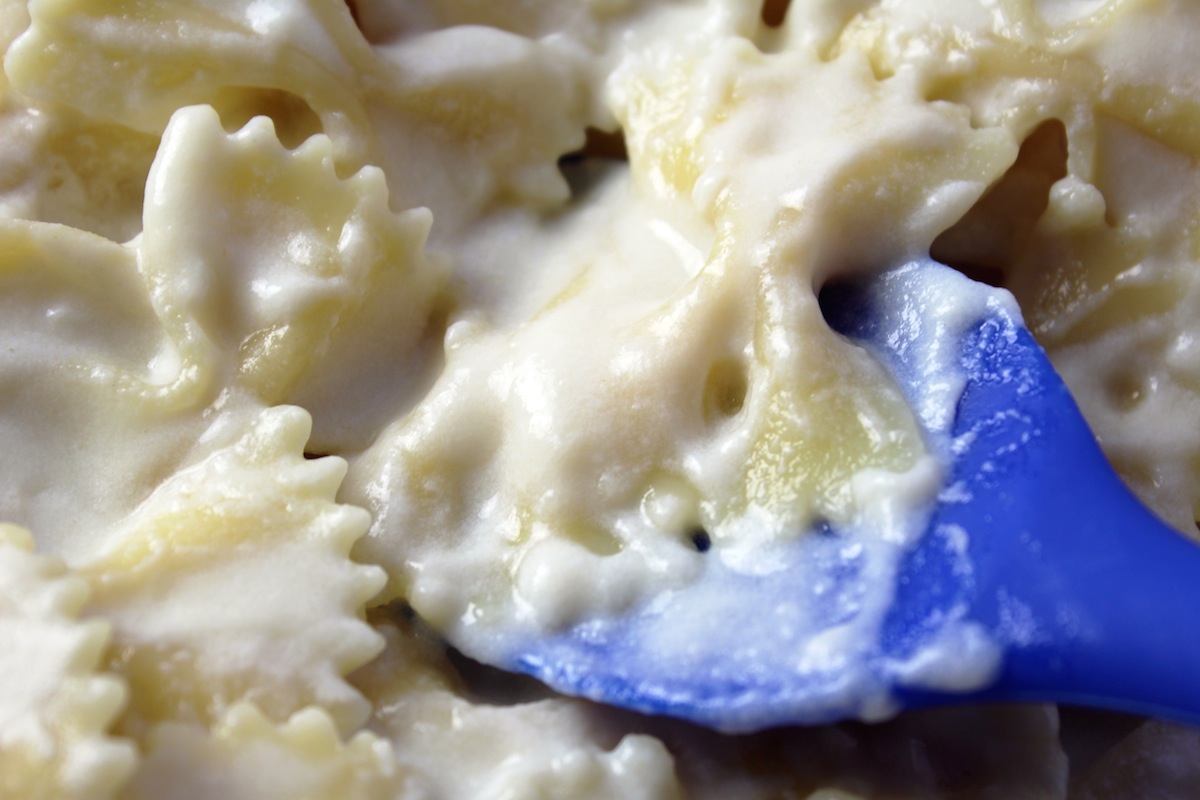
Do you miss Fettuccine Alfredo? Avoiding it because you don’t want to die? My Alfredo sauce has no heavy cream and no butter, in fact it’s made with 1% milk and it’s deeelish. And you can be eating it in five minutes. That’s how long it takes to make the easiest Fettuccine Alfredo ever, and the healthiest too.
This is the same sauce I use in my Creamy Chicken Asparagus Bow Ties recipe but if you just want pasta alone with a creamy, easy sauce, this is it. Alfredo sauce is traditionally served with fettuccine but today, I’m making Bow Ties Alfredo. Put it on bow ties, elbows, or any pasta shape you like. You won’t feel weighed down after this light sauce… or tired from all that 5 minutes of work! Click here for the recipe. – Jenny Jones
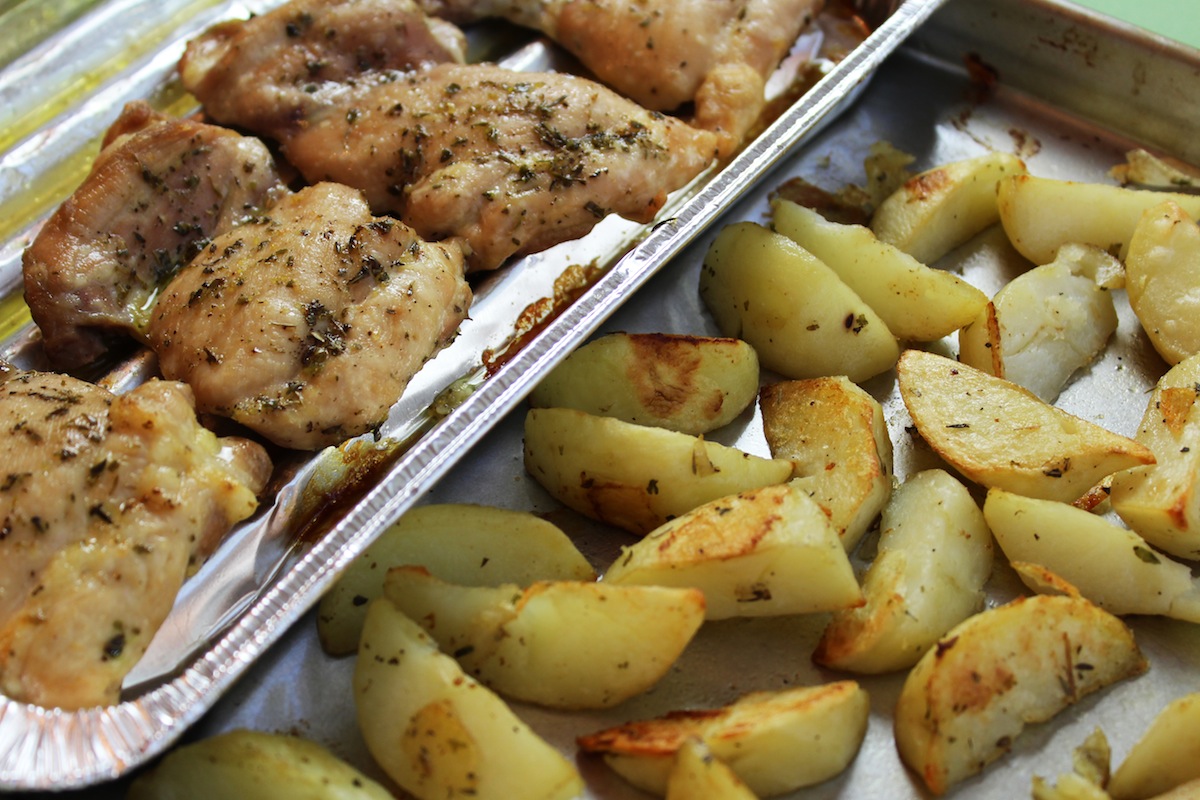
I’m posting my new simpler way to make one of my favorite one pan meals. This no-fuss dinner cooks in one pan and it takes almost no work. Plus the whole house smells divine with all the spices as they cook. Both the chicken and the potatoes are coated with a mixture of aromatic spices & olive oil and as they’re cooking along in the oven, you have plenty of time to make a salad or cook a side vegetable.
What I like most about this recipe is that the two foods can be separated at the end if either the chicken or potatoes need a few more minutes. Chicken thighs come in all sizes – sometimes I get four in a pack and sometimes six. So smaller pieces will cook faster. And depending how big you cut your potato wedges, they may need more or less time. So at the end, you can separate the chicken from the potatoes and cook just one of them a little longer if needed. I only had to do that once.
The broiler-type pan is important because chicken thighs have a lot of fat and all the fat cooks off and stays in the broiler pan, not touching the chicken, and not spreading onto the flat part of the pan where the potatoes cook and that keeps the potatoes crispy.
I had posted this recipe before when I used to cook asparagus on the same pan but it was too much trouble so now I just cook my green vegetable separately. This chicken dinner goes really well with asparagus and I’ve had it with broccoli and brussels sprouts, too. Click here for the recipe. – Jenny Jones
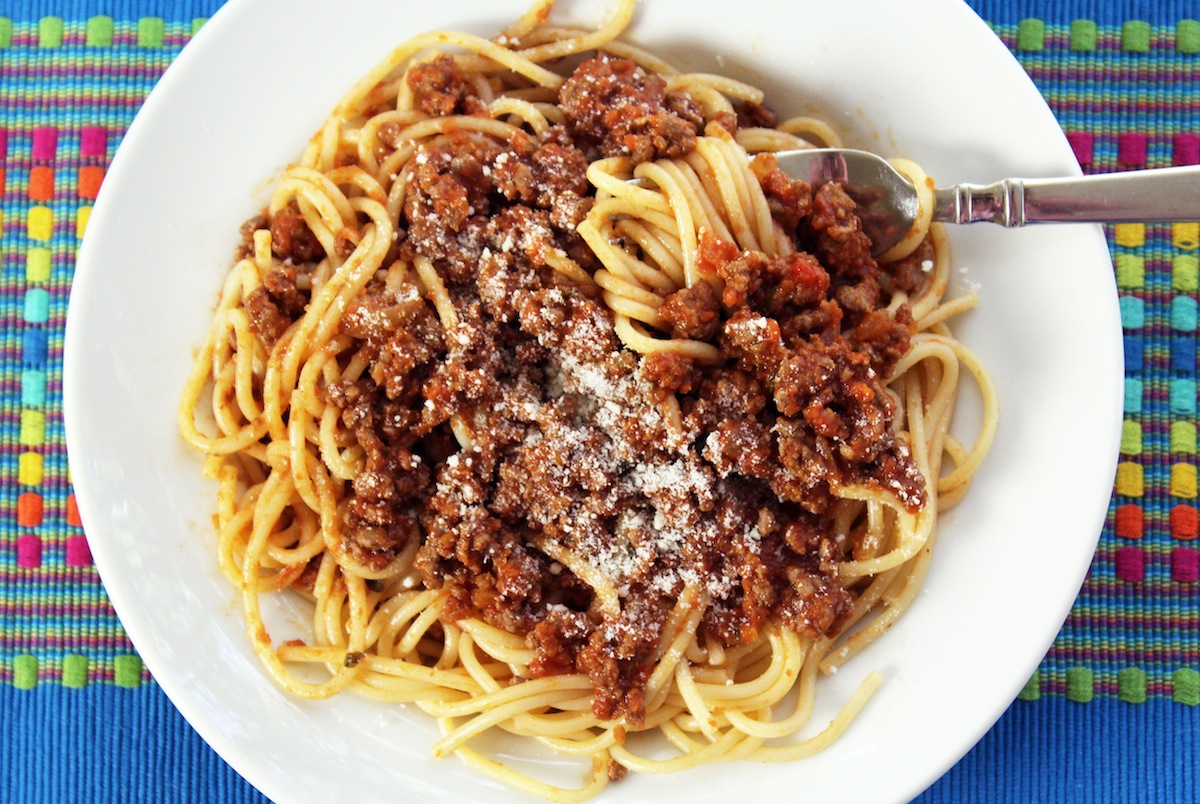
I’m spoiling myself by creating so many quick and easy recipes that I’m no longer willing to take all day to make a good meat sauce. So I changed my recipe from 2 1/4 hours to 45 minutes and now I’ve decided even that was too long. So I just posted a new, simpler, faster recipe for a delicious meat sauce and here’s the best part: Thirty minutes! And it’s delicious!
I didn’t give up any flavor with my new meat sauce recipe. Mainly, I eliminated the carrots, the celery, and the extra liquid which needed all that cooking time. I love the new simple meat sauce. It leaves me time to make my homemade gnocchi to have with it. This recipe is perfect for beginners with simple ingredients and hardly any work. Click here for the new recipe.- Jenny Jones
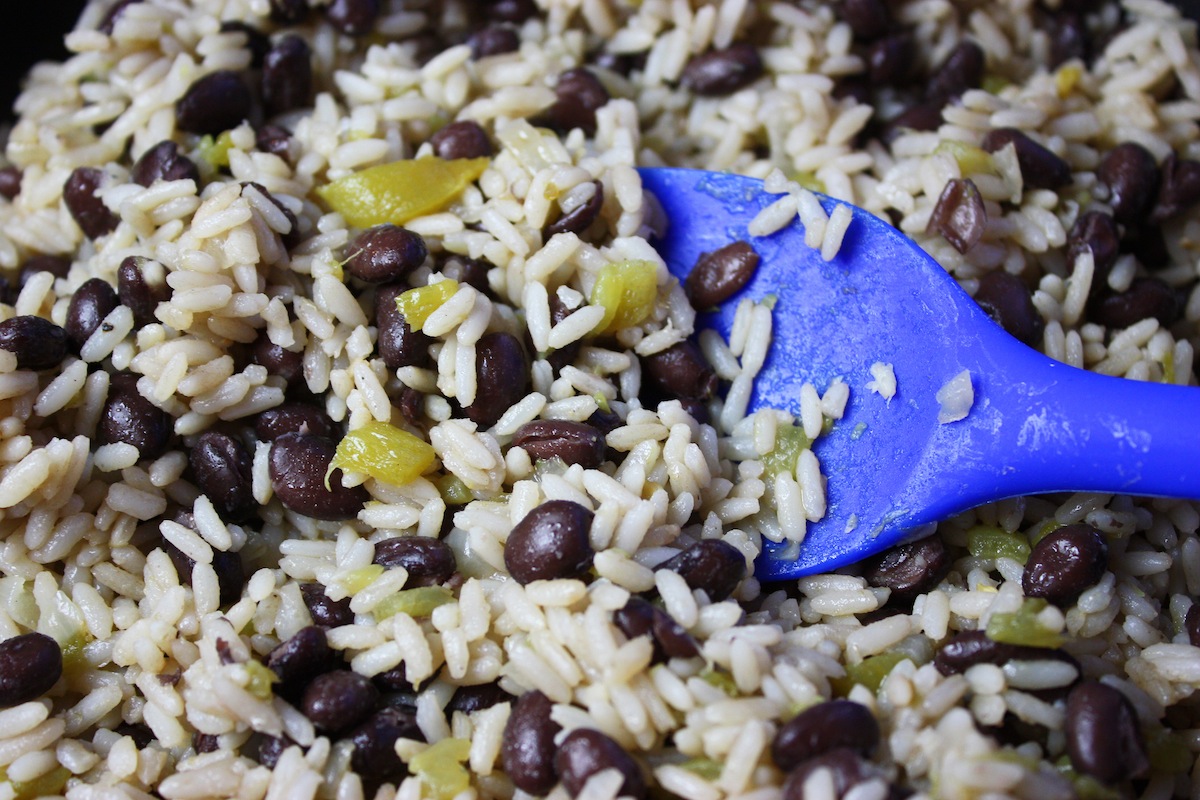
This recipe is so simple I hesitated to post it. It’s not fancy, or exciting, but I find myself making it so often, on those days when it’s suddenly time for dinner and I haven’t shopped for groceries and I’m hungry… I thought someone else has probably been there too. This simple rice and beans uses canned beans and chiles and long grain rice, all pantry items you can easily keep on hand. And most cooks have onions and garlic in the house – that’s all you need to make a healthy vegetarian meal.
Last night was just such a night. I was starving and wanted something easy and luckily I had canned beans and chiles… I was home free! I love this easy recipe. I didn’t even have chicken stock so I used plain water and it was still good. While it was cooking I had plenty of time to make and eat a big salad. By the way, I tried this rice & beans once with the “hot” chiles – OMG!! Too spicy for me!!
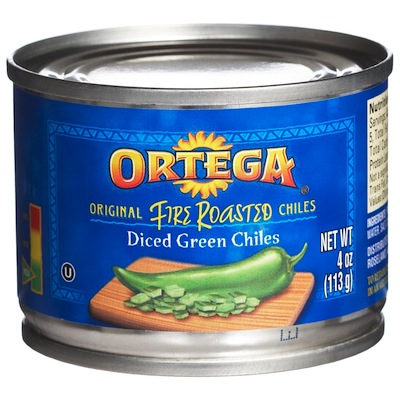
My favorite rice for this is Uncle Ben’s and I like Ortega brand fire roasted chiles. I usually find S&W black beans and I never used to rinse them. The rice got dark brown but I didn’t mind since it didn’t affect the taste but since I was taking a picture, I rinsed them and the dish looks much better.
This dish is not spicy at all. Don’t be scared off by the “fire-roasted” chiles. I use the mild ones and there is no heat at all.
I know this is not a fancy dinner but it’s quick and easy, filled with protein & fiber and it’s economical too. By the way, black beans have the highest antioxidant level of all beans and they also provide the same heart-health benefits as red wine. With black beans you’ll also be getting fiber, calcium, folate, iron, potassium, and protection against cancer, heart disease, and diabetes.
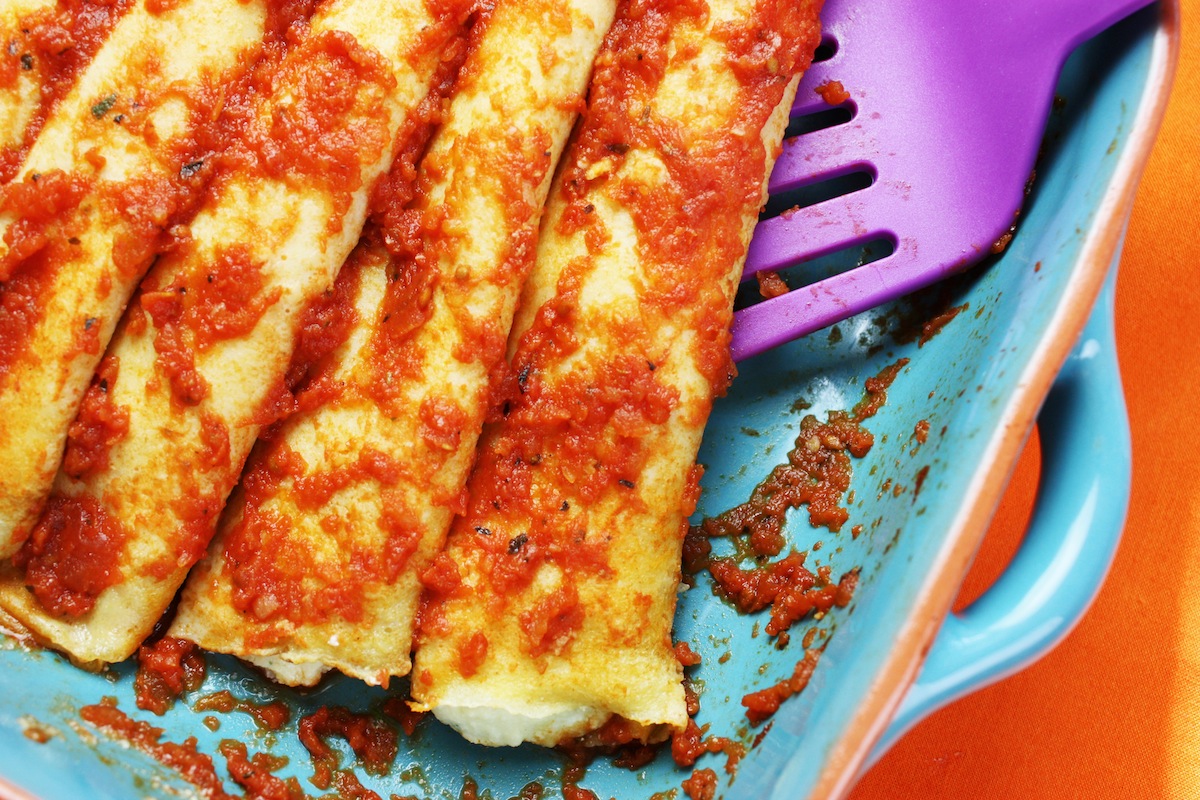
You won’t need teeth to eat this soft and tender manicotti made with crepes. And these are whole wheat crepes! I’ve tried stuffing manicotti pasta – you know, the ones that break when you boil them, and slip and slide when you try to stuff them. It’s easier and faster to make homemade crepes and just roll them up with a simple ricotta cheese filling.
This recipe uses two of my other recipes: Crepes and Quick & Easy Spaghetti Sauce. I make the crepes with whole wheat pastry flour. You can use all-purpose flour but trust me, they are beautifully soft and tender made with w.w.p. flour. The best part is that you can make the crepes and sauce a day or two in advance and when it’s time to make dinner you only have to put the easy filling together, roll up the crepes, and bake. You’ll have just enough time to make a salad and some steamed broccoli on the side.
The stuffing is a simple combination of part skim ricotta and mozzarella cheeses with parmesan, parsley, and an egg yolk. You can cover them all over with sauce or sometimes I leave the sides bare and put sauce down the center. I’m a big fan of my homemade spaghetti sauce but you certainly can use a bottled sauce if you like.
When stuffing and rolling the manicotti, you can tuck in the ends to seal in the filling but I like to leave the ends open and let a little cheese show itself. Plus it’s less work just to roll them up, no tucking. Remember it’s important to have vegetables at every meal so while this bakes for 30 minutes, be sure to take time to make a salad and a cooked vegetable on the side.
These easy patties are one of my go-to meals because they can be ready in less than 20 minutes and they always satisfy. Here’s how I do it. First, I pound the chicken between plastic and most of the time I use a plastic produce bag. Definitely use plastic because it’s less cleanup and you won’t get chicken splatter all over the place.
Then I lay out a long sheet of wax paper with a bowl in the middle. The flour goes on one side and the bread crumbs on the other (I use my homemade whole wheat crumbs). I use a fork to stir the salt & pepper into the flour. I zest the lemon and chop the parsley, adding them to the crumbs. Then I juice the zested lemon and add the 2 tsp. of juice to the egg.
Now my assembly line starts. I dip the chicken in the flour, the egg, and the crumbs. What I find is that the parsley seems to mostly disappear from the crumbs before I’m done so I keep a little extra parsley on the side and stir it into the crumbs later when needed.
It doesn’t take much oil to make these cutlets nice and crispy and I only add a little at a time when turning the cutlets over. I have a really big fry pan I got at Target (10 inches across!) but I still have to work in batches. If you crowd the chicken in the pan it won’t brown as well and they won’t be as crispy.
This recipe is quick so I always start my side dish first and that’s usually my spaghetti with chard or rice with kale. But last night I made Greek spinach rice and it went great with the chicken cutlets. I will post that recipe soon. Breaded chicken cutlets are one of those flexible recipes you can make your own. Do you like rosemary? Add some dried rosemary to the crumbs. No lemons? Just leave them out. Like things spicy? Add some cayenne to the flour and serve with hot sauce instead of lemon. Using this basic formula you can add any dried spices you like to either the flour or crumbs. But I hope you’ll try it this way because it will probably become your family favorite too. Click here for the recipe. – Jenny Jones
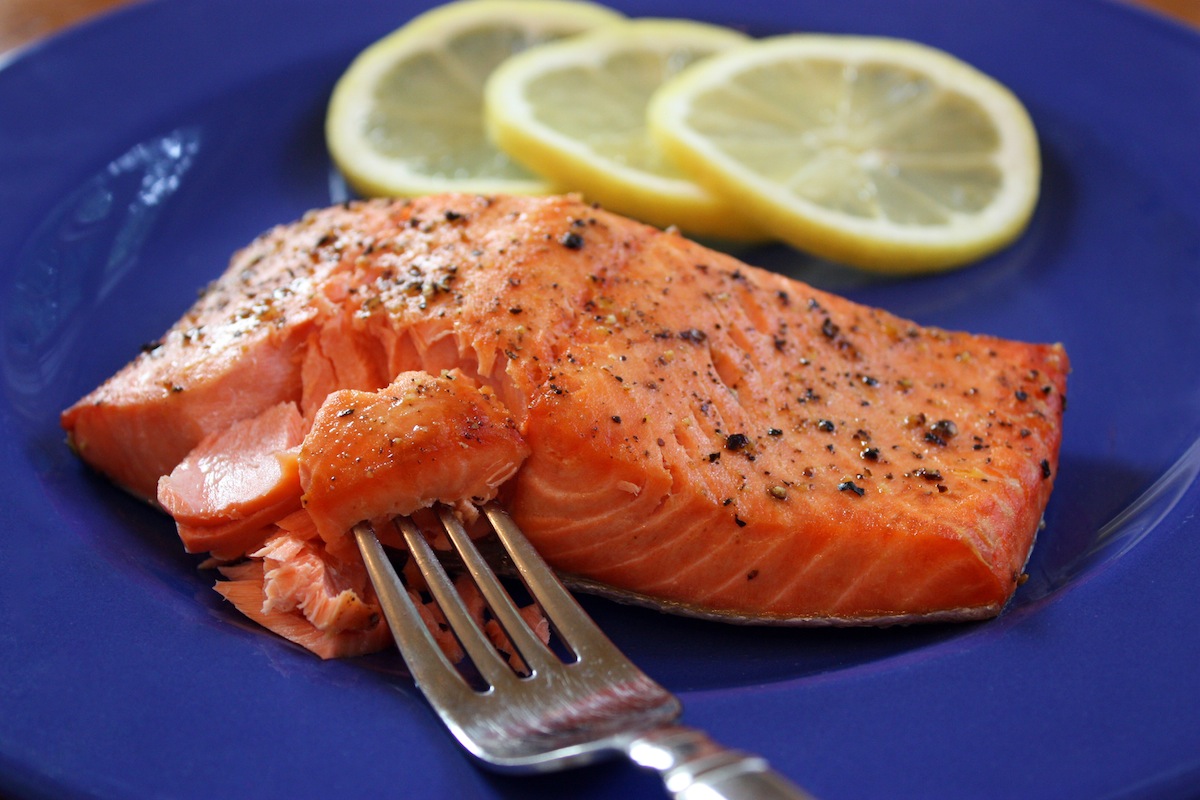
It’s so simple and so healthy. Simple because my easy broiled salmon only takes 15 minutes to make – all you need is a lemon and some olive oil. And healthy because salmon is good for your heart…. and your eyes, and your brain, and your joints, and etc., etc.. Salmon is always on the list of foods with the most health benefits and it’s easier to cook than you think.
Wild caught salmon is the best choice and of course getting it fresh is important when it comes to fish. It’s always good to know what day they deliver fish at the market and that’s the day to go get it. There are lots of ways to cook salmon (most of them too fancy for me) so I keep it simple – just lemon, oil, salt and pepper. Of course you can add other spices if you like but this simple recipe is really good.
Every oven is different and every broiler is too so your fish may take less time to cook, or more depending on a few things. 1) How strong is your broiler? 2) What is the distance between your oven rack and the broiler? 3) How thick is your salmon? 4) How do you like it cooked?
In my kitchen, the broiler has two setting, high and medium. I cook it on the high setting. I place the rack one below the top, which puts my oven rack around 5 1/2 to 6 inches below the heat. The salmon I find at my store is usually about an inch thick but depending on the thickness of the fish, you would cook it about 10 minutes per inch. I prefer my fish cooked all the way through but if you want it less done inside, cook it for a little less time.
A recipe for broiling is different from baking. Baking is more exact but broiling depends on all kinds of variables so just use your common sense and keep an eye on it. As for what to serve with this beautiful fish, I always make something on the stove top since the oven is occupied, so I often make rice and a steamed vegetable or my rice with kale. I also like salmon with my spaghetti with chard. Oh, and sometimes, just some peeled, chopped, and seamed sweet potato goes great with this simple broiled salmon. Click here for the recipe. – Jenny Jones

 Not all chicken meatballs are soft but these are. The secret is to cook them right in the sauce. Ground chicken breast is very lean and healthy but since it contains so little fat, it’s easy for chicken meatballs to become dry. But when they’re cooked in the sauce, they are beautifully soft and even more flavorful from absorbing the sauce.
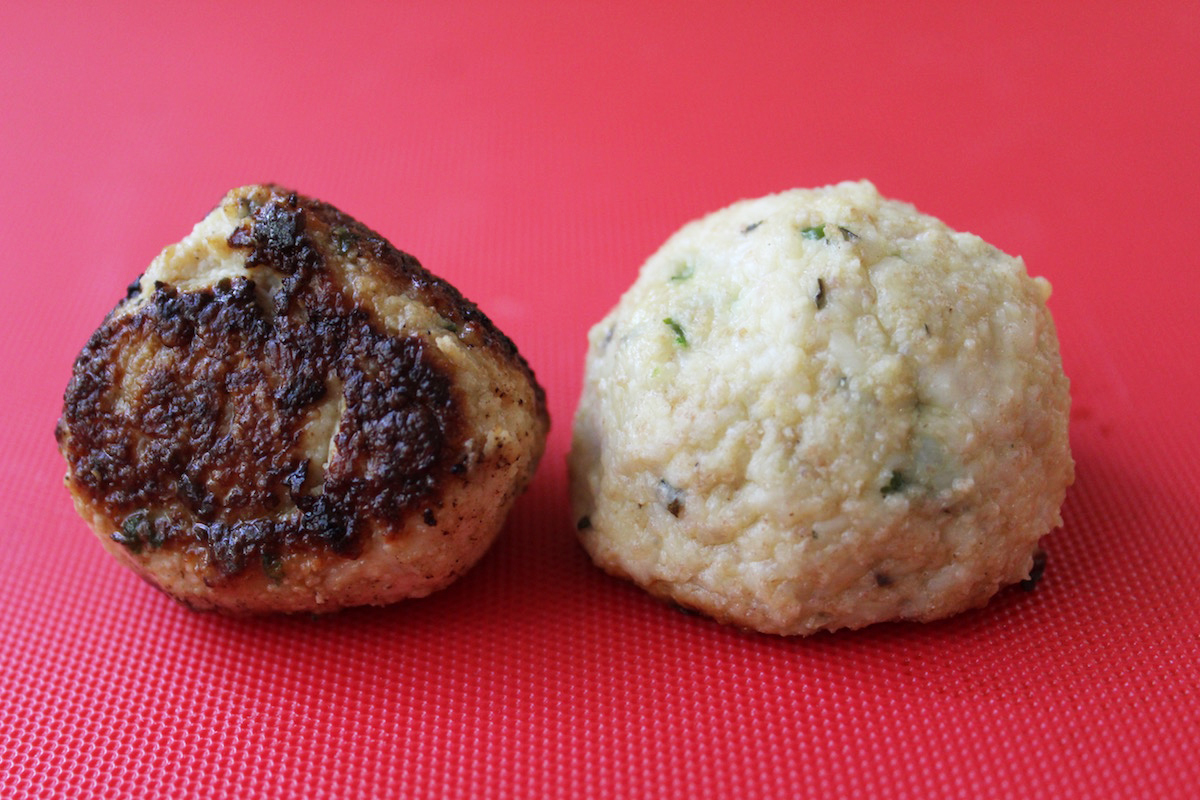 Pan-fried Oven-baked