Here’s an easy, healthy way to cool down in the summer without drinking sugary drinks. Just take a pitcher of fresh water and add some sliced fruit. After about an hour in the fridge, the fruit gives it a really nice, subtle and refreshing taste and it sure beats plain water. Plus it looks great, too. Today I added some sliced apple, lemon, watermelon, peach, mango, and apricot.
Fresh fruit is more affordable and better tasting in the summer so this is easy to do right now with any of your favorite fruits, or you could even add a refreshing vegetable like cucumber slices. Try it with my combination or create your own. I’m always trying to drink more water and this makes it easy because it tastes so good. It’s a healthy way to stay hydrated and now you can say, “Anyone for an aguas frescas?” – Jenny Jones
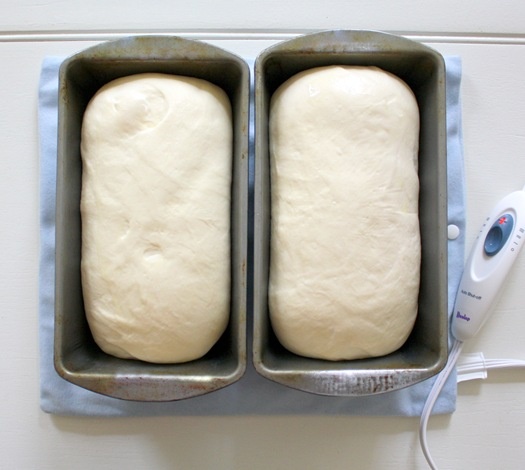
If you’ve ever baked bread or anything with yeast you know that it helps to have a warm spot to help the dough rise. Some things that work are a warming drawer, placing the dough under a lamp, or heating the oven for a minute and then turning it off (but then you need to preheat the oven). But here’s a way I never thought of… a heating pad. Whaddya think? Good idea? Or do you have something better?
Here’s why I always keep hard boiled eggs in the fridge:
1) easy to make
2) there’s always something to eat
3) a great source of protein
4) lutein for your eyes and choline for the brain
5) an egg a day does not raise cholesterol
6) portable snack
7) only 70 calories
8) egg salad is only minutes away!
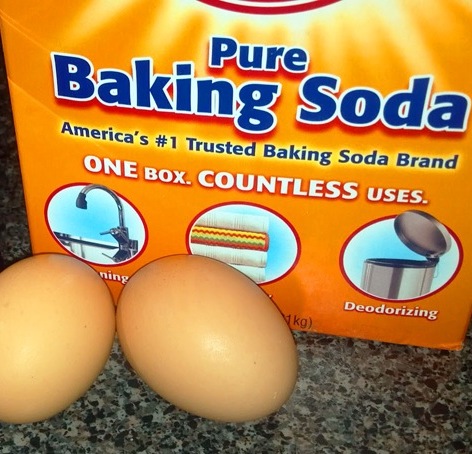
Did you know that adding 1/2 teaspoon of baking soda to the water makes hard boiled eggs easier to peel? I tried it and it works. Here’s how I make mine: Cover cold eggs with cold water in a saucepan without crowding the eggs too much. Add 1/2 teaspoon baking soda. Bring to a full boil. Cover and remove from heat. Let stand 17 minutes, depending on the size of your eggs. Rinse under cold water for a minute or better still, place eggs into ice water for about 2 minutes. They’re perfect every time with no green ring. – Jenny Jones
For the latest research on eggs from Prevention Magazine, click here.
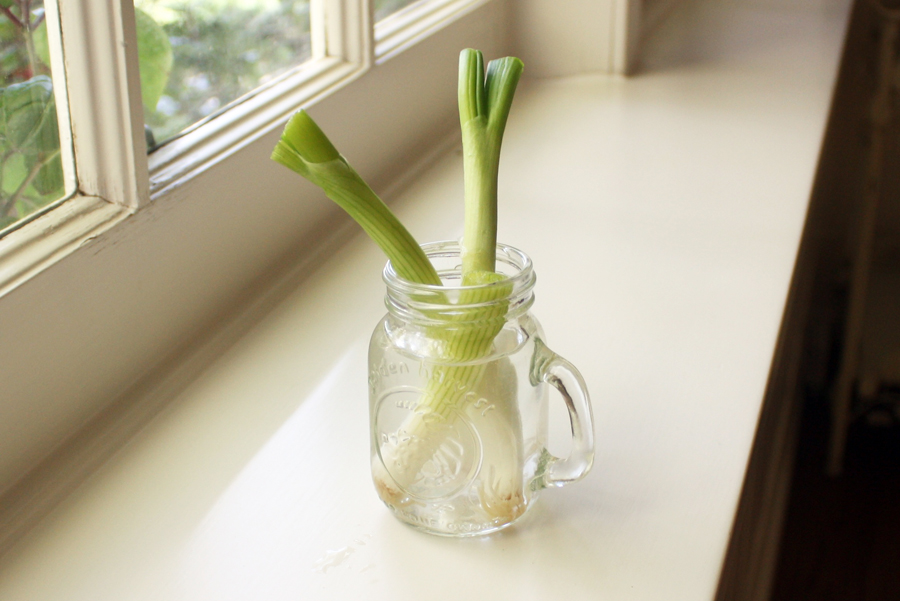
When I first saw this on Pinterest, I was skeptical but it works. Boy, does it work! All you do it cut the white fuzzy ends off of your green onions and put them in a glass of water, placed in a sunny window (keep the green parts for eating). The onions will grow almost immediately and can be harvested almost indefinitely. Just cut off what you need and it grows back!. There are lots of internet articles about it but this is the first I’ve heard and had to share. – Jenny Jones
Here’s what my onions looked like 10 days ago…
and here they are today…
Eating onions can help prevent blood clots, improve memory, and boost your immune system.
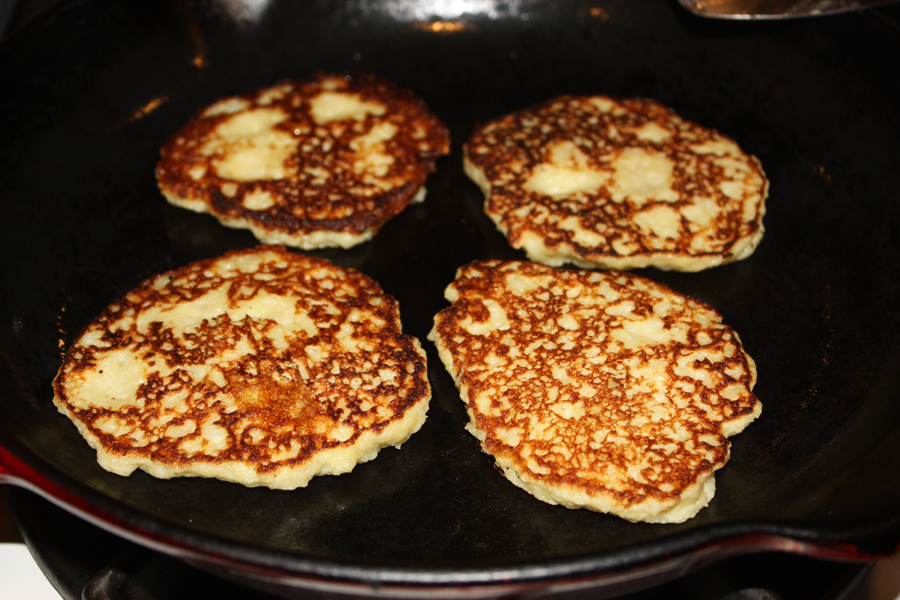
Whenever I order potato pancakes at a restaurant, they’re so greasy I can’t eat them. So naturally, I had to find a way to make my own healthy potato pancakes. After a few attempts I finally made some on Tuesday that turned out great with very little oil. The trick for me was draining the potatoes well but saving the starch and using a cast iron skillet. Finally… healthy potato pancakes! I’ll be posting the easy recipe soon.
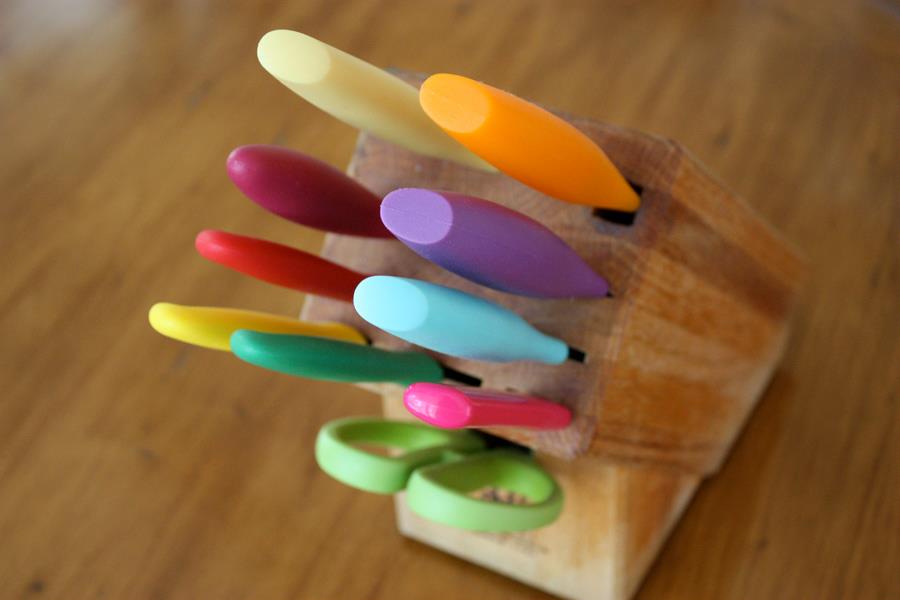
I swear cooking is more fun when you have colorful tools. This knife block may look fancy but I put it together myself with inexpensive knives from Target.
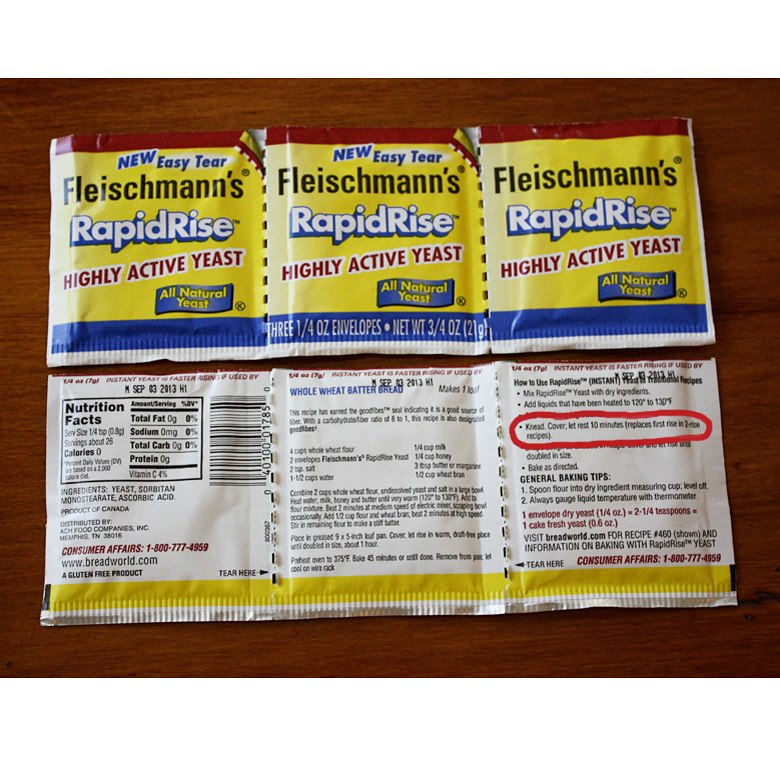
Attention bread bakers: I’ve been using this yeast for years because it doesn’t require proofing but I never read ALL the information on the back. Duh!! I just saw that this yeast eliminates the first rise so you save almost an hour off baking anything with yeast. So… I get cinnamon rolls an hour sooner! Yay!! And here we thought it was MEN who never asked for directions! 😉
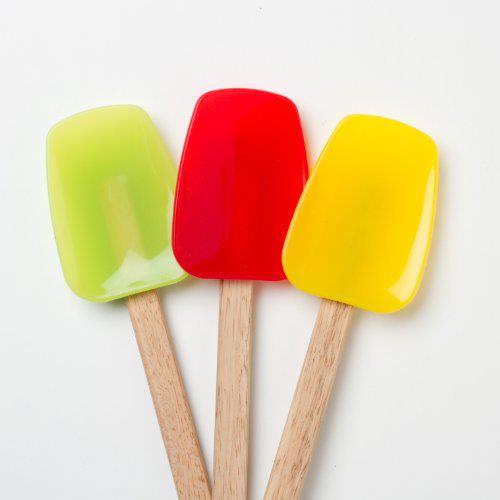
It’s a spoon-shaped spatula, perfect for mixing, stirring, scraping, lifting, folding, even sauteeing if it’s silicone (heat resistant up to 500 degrees).
It’s the only thing I use when I saute because it can’t scratch my non-stick pans and it’s flexible so it fits into every curve and corner. A spoonula will also scrape out a bowl better than anything.